Guide to covering a foam model.
Items needed:
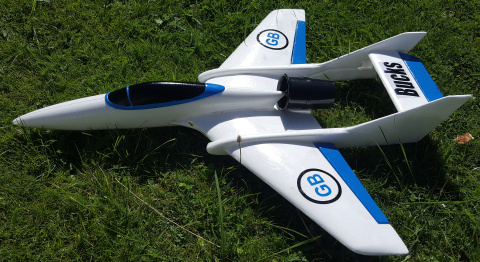
- Foam Model to be covered for example: "FLYCAT" EDF,
- Bucks 2 metre Single-Part Coating Kit 25g (Bucks-Composites).
- Sanding Pad x3 (Bucks-Composites).
Optional:
- Dust Mask (Bucks-Composites).
- Protective gloves x10 (Bucks-Composites).
Health and safety Note: Operate in well ventilated area and wear surgical gloves whilst handling Bucks Single-Part Coating System.
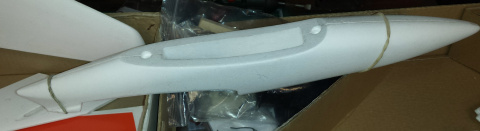
What’s in the box? A few bits of foam & some hardware.
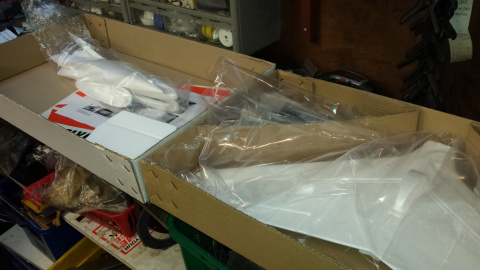
And decals!
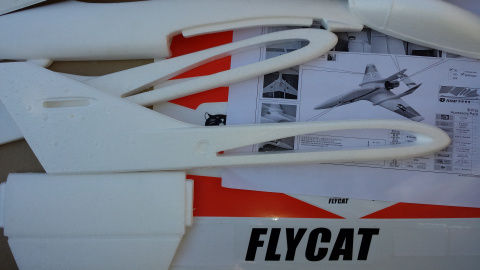
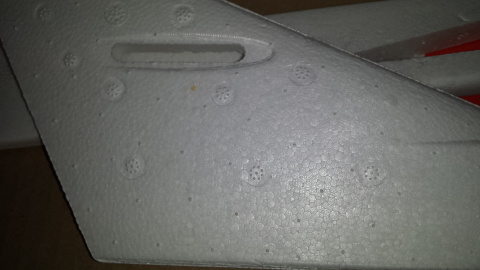
Notice the moulding pip marks.
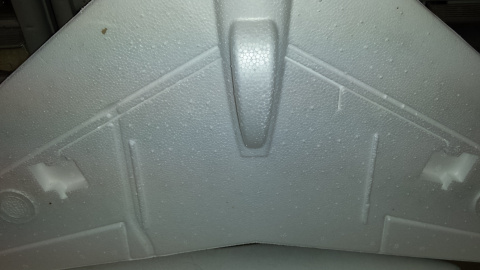
More injection marks found on the whole of the model, Sand away with a sanding pad found on the Bucks-Composites web-site. Most of the plane needs to be sanded smooth which doesn’t take long if using a sanding pad.
Please wear a dust mask when sanding.
Dust masks can be found on the Bucks-Composites web-site.
Sand away another injection mark with the sanding pad.
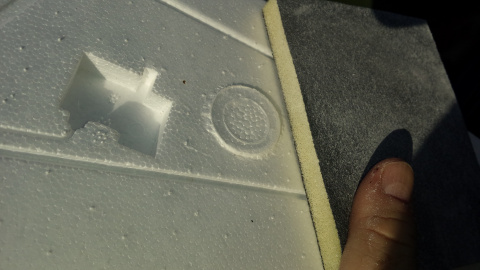
With a little sanding the injection mark has now gone!
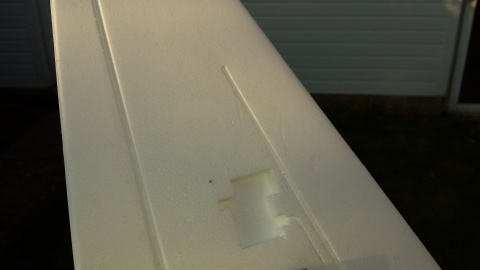
Sand the trailing edges with a fine Perma-Grit sanding tool.

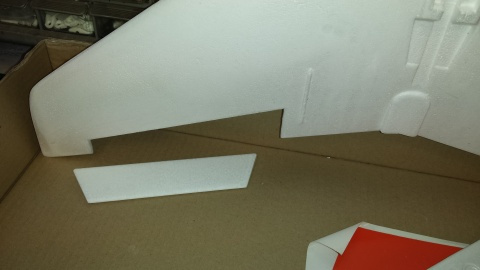
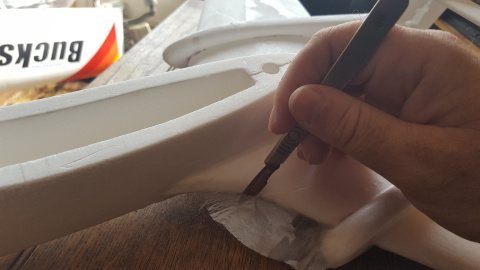
Carefully cut out the ailerons with a sharp knife and a metal rule used as a straight edge. Using a Perma-Grit fine sanding tool, sand the ailerons edges smooth.
Glue the two fuselage sides together with foam friendly glue supplied in the kit.
Locate and bond the wing and fuselage together.
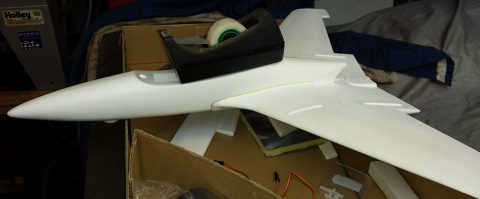
Bond the two booms onto the wing.
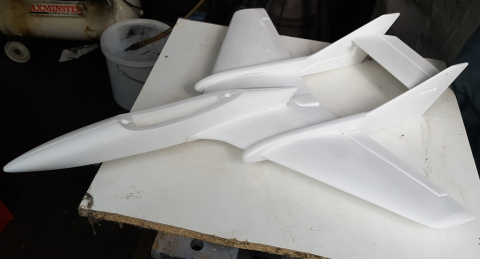
Fill any imperfections with a lightweight easy to sand filler for example: Model Light filler, using Bucks epoxy resin spreading card to smooth over the filler.
I have selected Ultra Lightweight 25g glass fibre woven cloth due to the lightness and ease of use that follows the planes awkward shapes well. Also the 25g glass fibre woven cloth wets out easily with Bucks Single-Part coating system.
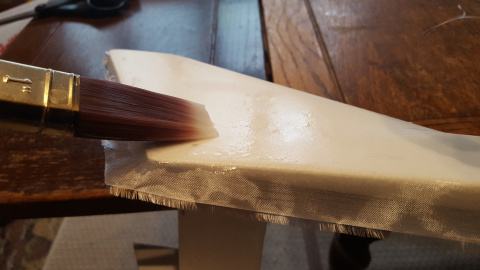
Cut the glass fibre woven cloth to size leaving 1” over lap all around the area to cover. I am using 25g per square metre weight.
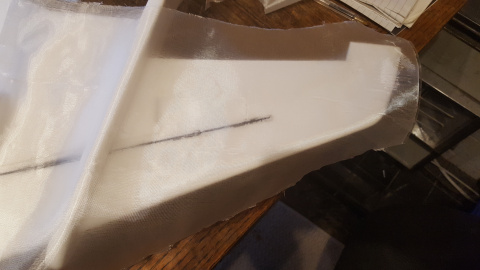
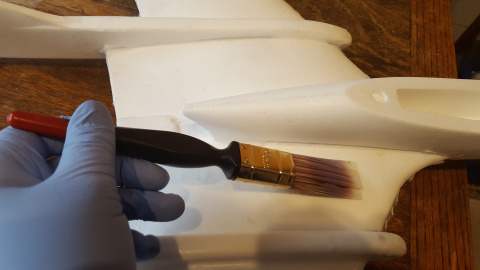
Apply a coat of Bucks Single-Part Coating System with the Bucks Synthetic 1” coating brush to the 25g glass fibre woven cloth. I am starting with the underside of the plane. Notice that the glass fibre woven cloth goes clear when the correct amount of Bucks Single-Part coating system is applied.
Most of the glass fibre woven cloth can be overlapped around leading and trailing edges.
Leave for 12 hours before sanding any unwanted glass fibre woven cloth on the edges with a sanding pad or trim unwanted glass fibre woven cloth with a scalpel which doesn’t take long.
Now turn over and coat the other side with glass fibre woven cloth and Bucks Single-Part coating system.
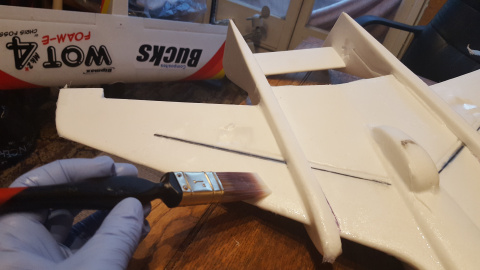
Coat the booms
Bubbles of Bucks Single-Part coating system are visible here on the surface but when the coating dries the bubbles disappear.
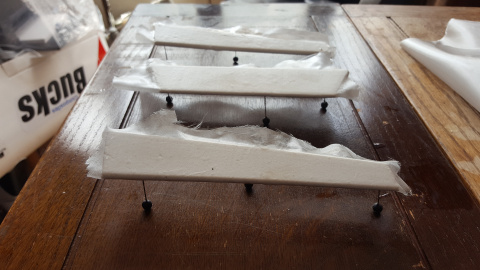
Take the Ailerons and Elevator and wrap the glass fibre woven cloth around the trailing edge top / bottom, then Coat with the Bucks Single-Part coating system and leave to dry un-obstructive. The Bucks coating brush can be easily cleaned with warm soapy water.
Leave to fully dry.
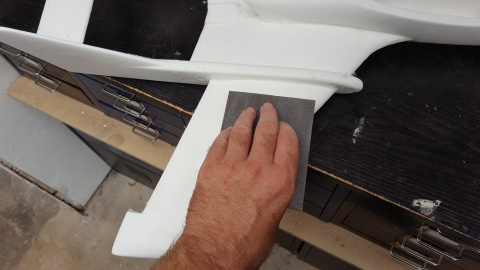
Lightly Sand the top and bottom sides of the plane.
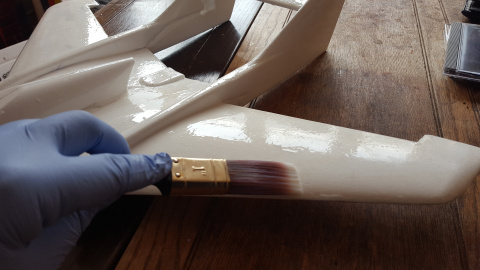
Now coat with just the Bucks Single-Part coating system to the under side allow to dry then coat the top side with just the Bucks Single-Part coating system. The more coats applied the higher the glossy finish.
Wash the Bucks coating brush with warm soapy water.
If a painted finish is required then use Acrylic paint.
After 24 hours the decals can be applied.
Fit the elevator, ailerons, servos, ducted fan & motor housing, wire up the motor, wire up the speed controller, battery then sort out the centre of gravity, complete a range check and happy flying.